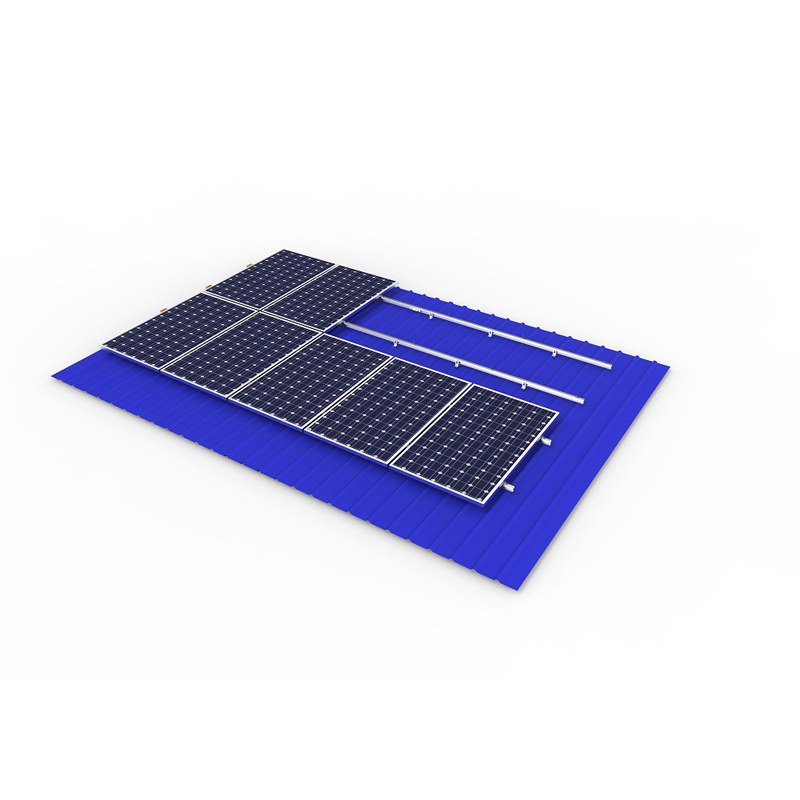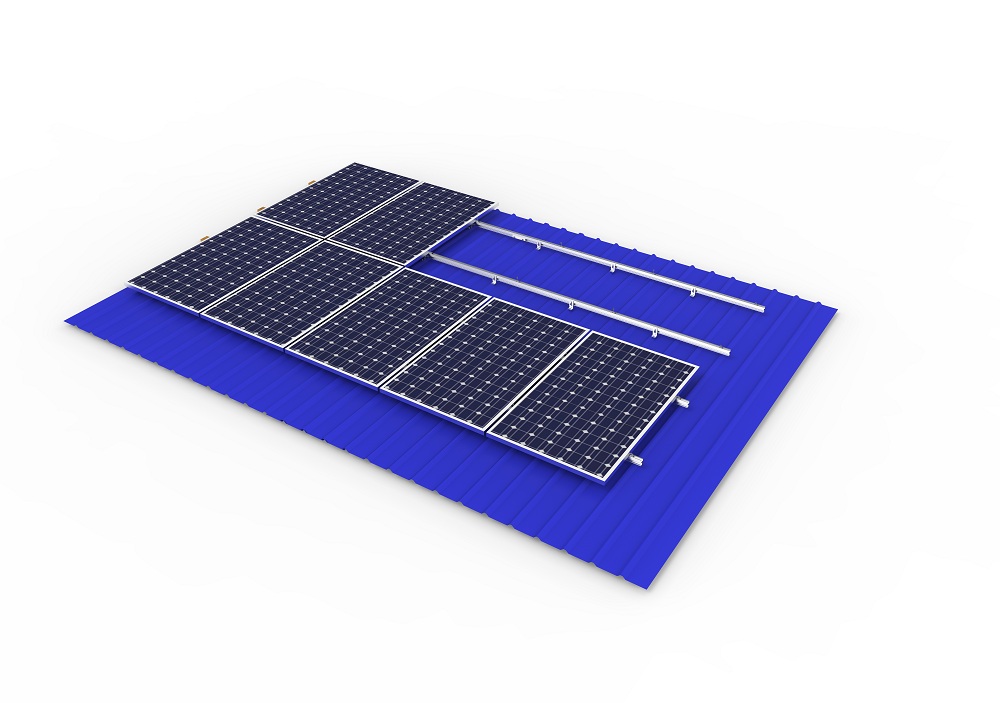
L Foot Bracket Metal Roof Solar Panel Mounting System
The design of the L-foot bracket system for steel tile roofs has great flexibility and is suitable for commercial and residential color steel tile roof solar systems. It is suitable for installing framed and frameless components onto sloping roofs.
The system product has innovative track and D-type card block design to make installation more convenient and fast. Highly pre assembled and customized solutions save you installation time and money.
- Lester
- China
- 14 weekdays
- 2MW/Week
- AL6005-T5
- 40mm
- AS/NZS1170 ASCE 7-05 DIN1044
- 10 Years
- 20 Years
- Information
PRODUCT DETAIL
PRODUCT FEATURES
· [Easy and fast installation]
The solar L-foot installation bracket is easy to install and has high reliability, reducing the installation time and cost of photovoltaic roof installation.
· [Widely used in commercial and residential iron sheet roofs]
The solar L-foot iron sheet roof installation system is widely used for solar roof installation, suitable for most types of corrugated iron sheet roofs, with installation angles ranging from 10 degrees to 60 degrees.
· [Lightweight material, anodized, and long service life]
Aluminum and stainless steel materials ensure high durability of components, providing a sturdy and easy installation option for solar iron roof installation.
· [Rubber gaskets provide maximum waterproofing]
The wooden screws and EPDM rubber washers we use can effectively prevent rainwater leakage and protect the roof from rusting.
TECHNICAL PARAMETER | |
| Max wind speed | 45m/s |
| Snow Load | 0.8KN/m2 |
| Span range | 0.1-1.8m |
| Standard length of pressing block | 40mm |
| Design standard | AS/NZS1170 ASCE 7-05 DIN1044, etc |
PERFORMANCE PARAMETER | |
| Installation site | Steel tile roof |
| Main material | AL6005-T5 |
| Fastener material | SUS304 |
| Applicable components | Framed or frameless |
| Applicable layout method | Vertical or horizontal |
| Warranty period | 10 years |
INSTALLATION INSTRUCTIONS
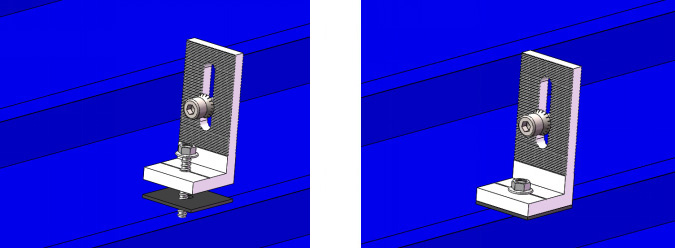
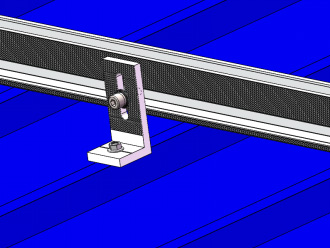
1. Installing the L foot
2. Install the rail
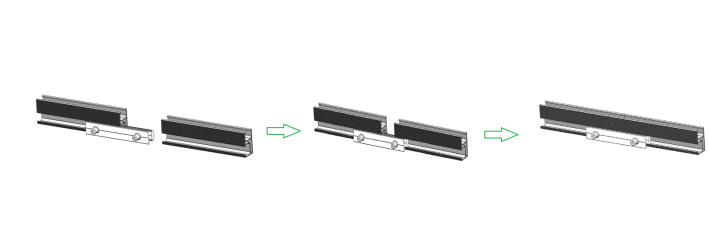
Slide the rail inward against the clamp on the hook, adjust the distance, lock the studs, and secure the rail. If the track length is not enough, connect multiple tracks together through track connectors.
3. Install components
Secure the assembly to the track using side pressure and medium pressure.


