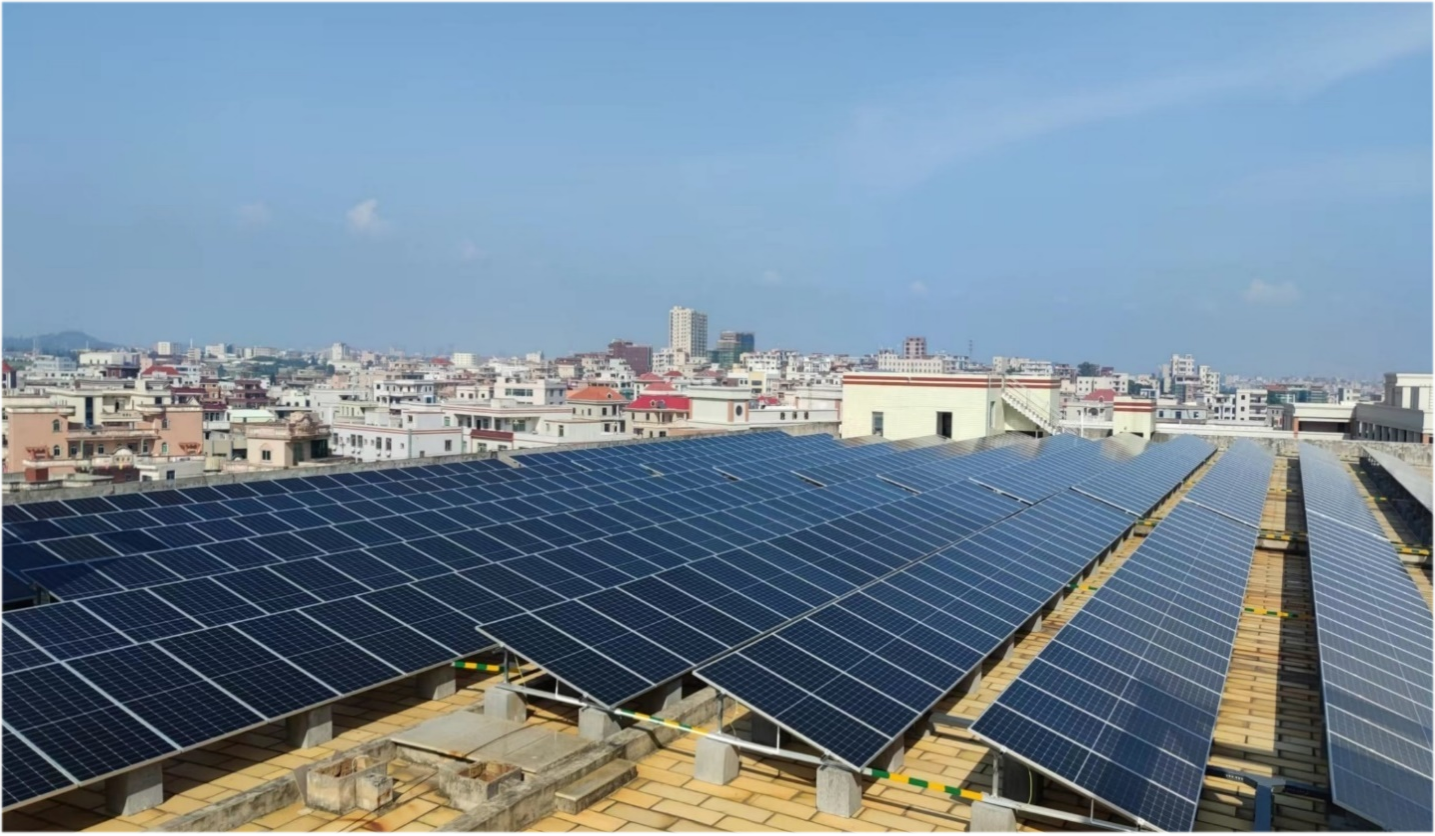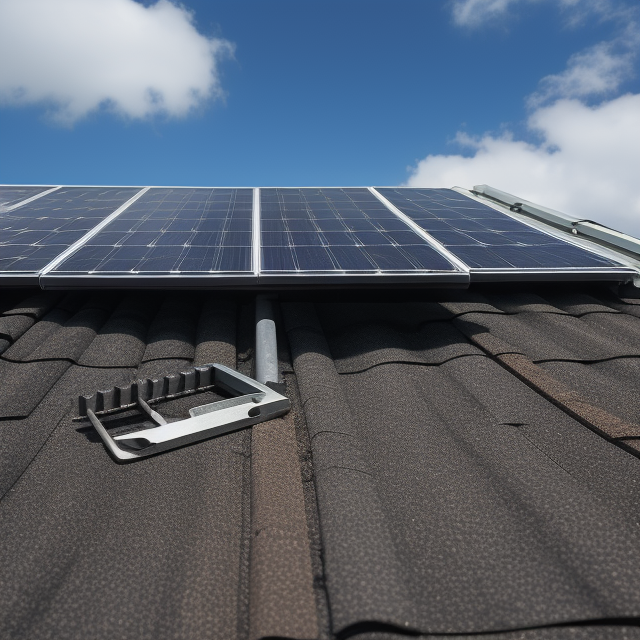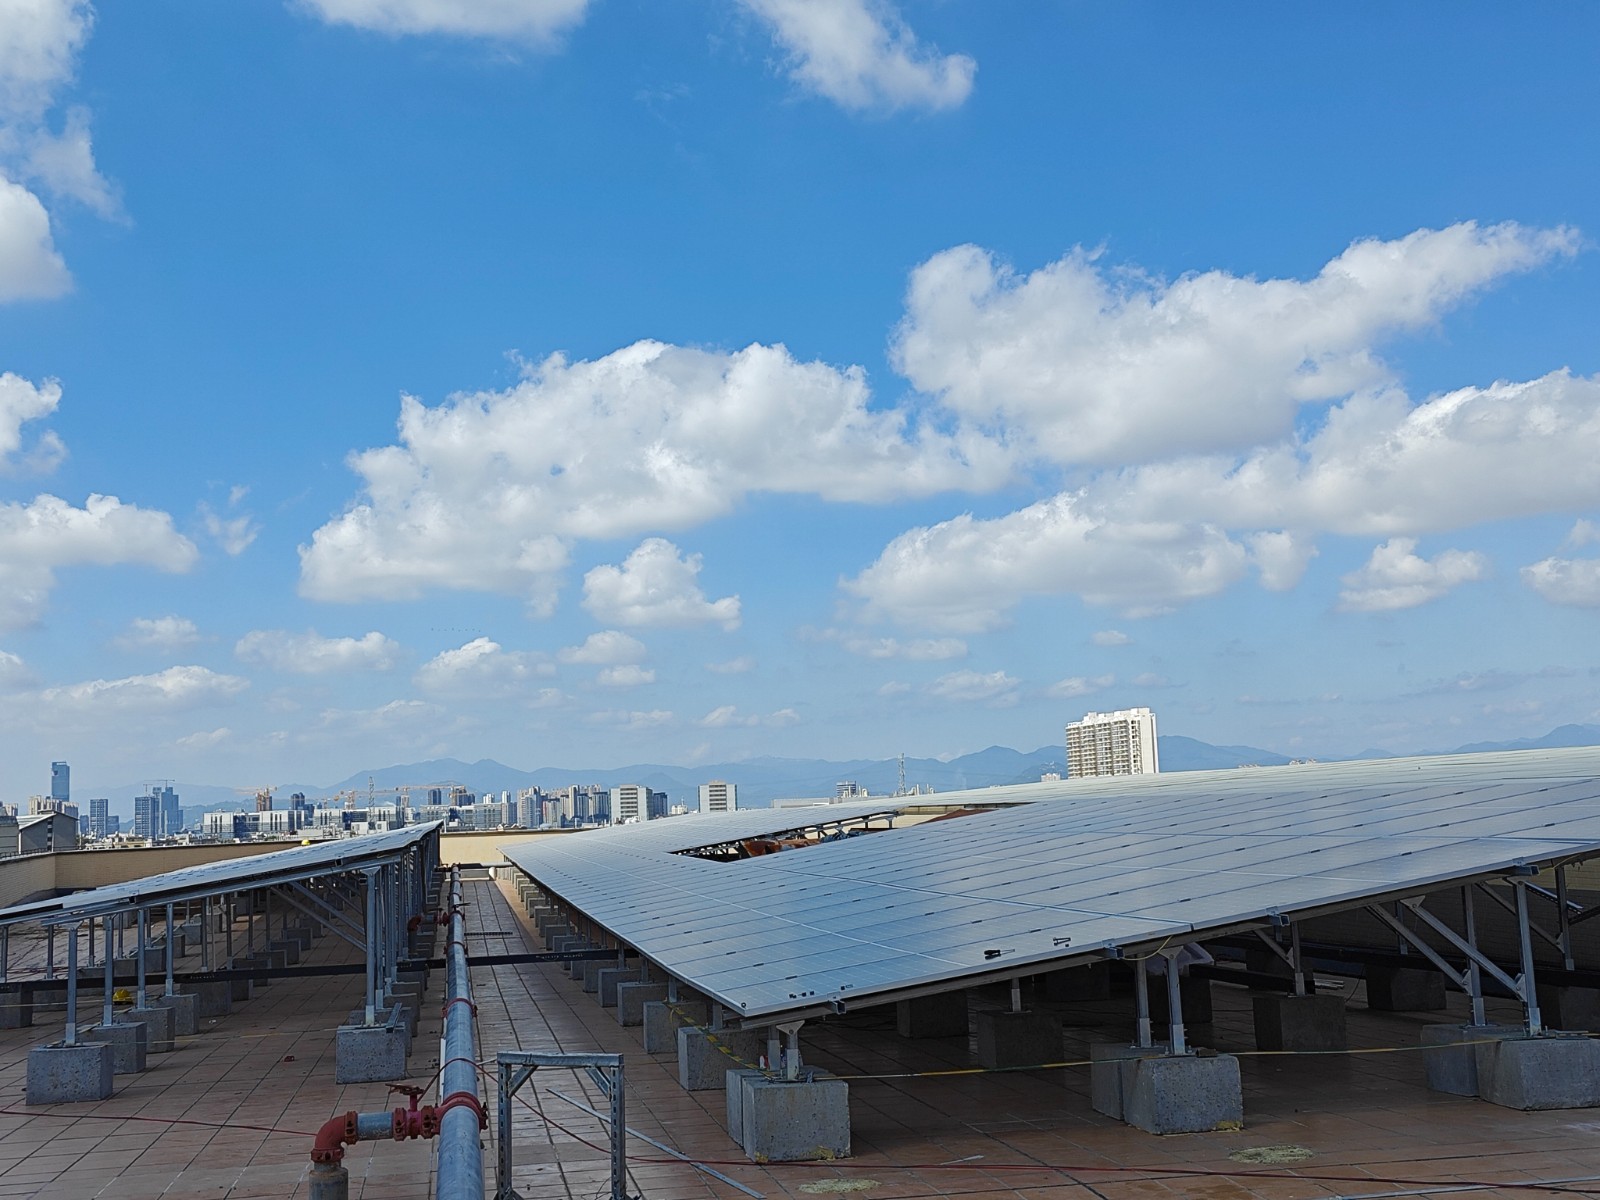
Concrete Tile Roof Triangular Mounting System
The tripod system is suitable for cement roofing, and the main material is aluminum alloy. It is characterized by light weight, strong structure, and recyclable materials. Tongshengda aluminum profile ground bracket is pre installed at the factory.
During installation, the bracket system can be directly deployed to install track components, etc. There are fewer on-site installation procedures, effectively improving installation efficiency.
- Lester
- China
- 14 weekdays
- 2MW/Week
- AL6005-T5
- 10 Years
- 25 Years
- Information
PRODUCT DETAIL
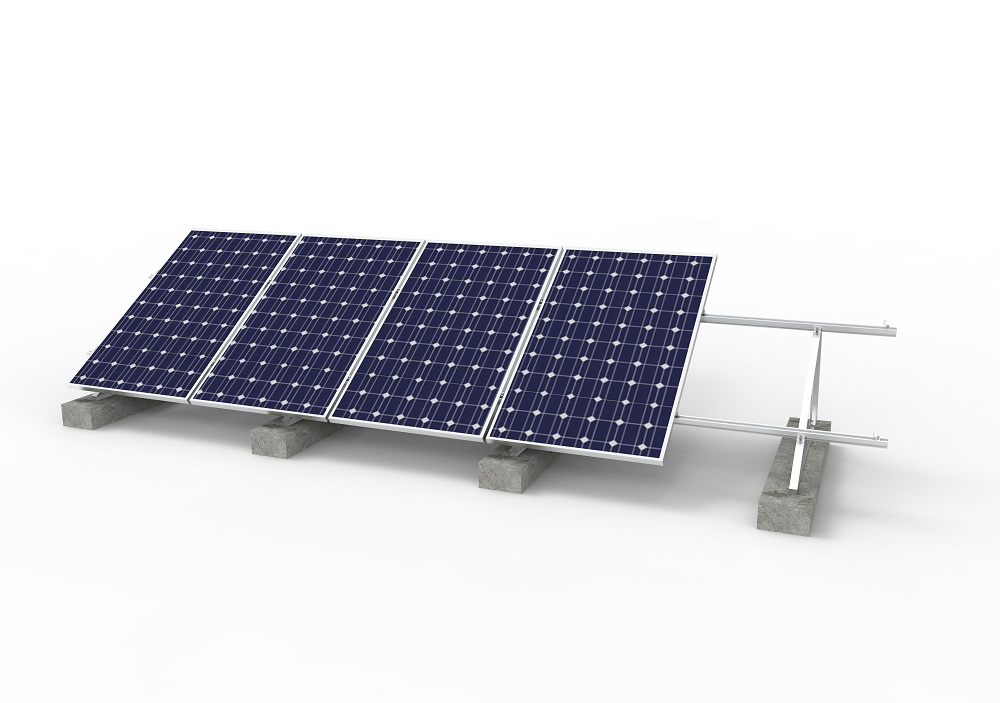
PRODUCT DESCRIPTION
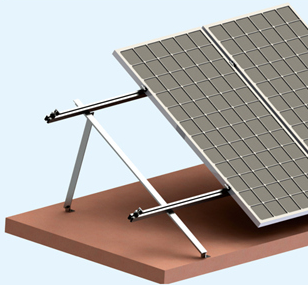
The Concrete Tile Roof Triangular Mounting System technology adopts a simple and dignified appearance, exquisite and stable structure, which can achieve on-site installation without welding, and has high reliability to meet the characteristics of structural load-bearing capacity. Combining with reality, it optimizes the use of materials. Partial installation of solar panels and rails is suitable for all types of solar panels, making it easy to install and use, greatly improving the efficiency of on-site construction, and saving costs.
Angle support personalized customization to meet the installation requirements of solar modules in different countries or regions with different latitude and longitude, ensuring better lighting angles.
TECHNICAL PARAMETER | |
| Max wind speed | 42m/s |
| Snow load | 1KN/m2 |
| Span range | 0.6-2.5m |
| System installation angle deviation | ± 2 ° |
| Adjustable angle | 10-15, 15-30, 30-60 |
| Design standard | AS/NZS1170 ASCE 7-05 DIN1044, etc |
PERFORMANCE PARAMETER | |
| Installation site | cement flat roof |
| Main material | AL6005-T5 |
| Fastener material | SUS304 |
| Applicable components | Framed |
| Applicable layout method | vertical layout |
| Warranty period | 10 years |
INSTALLATION INSTRUCTIONS
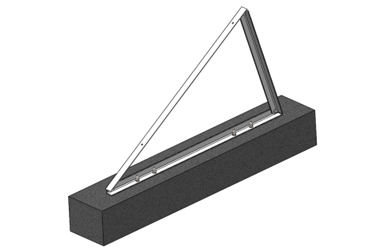
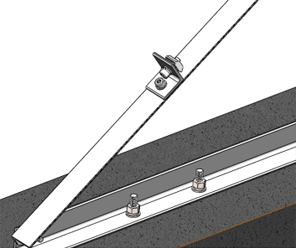
1. Install the tripod
Install the tripod on the cement foundation with embedded bolts, and lock all bolts on the tripod. Install the rail bracket on the tripod, and temporarily pre lock the bolts on the bracket
2. Installation track
Align the track with the clip on the carrier plate and slide the track inward along the clip. After adjusting the distance dimension, lock the track and tighten the bolts that fix the bracket.
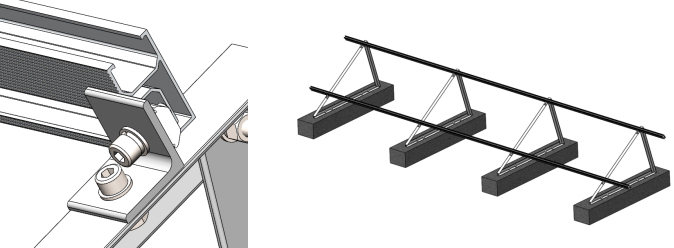
3. Install components
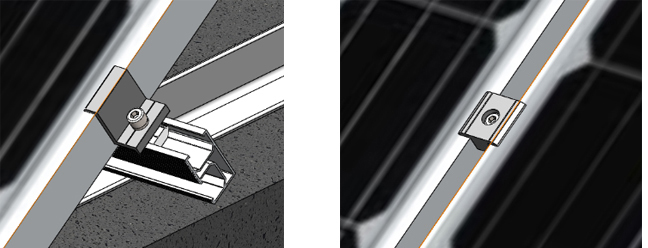
Lay the assembly flat on the track, adjust the dimensions, and fix the assembly with side pressure blocks and medium pressure blocks.
PROJECT CASE
