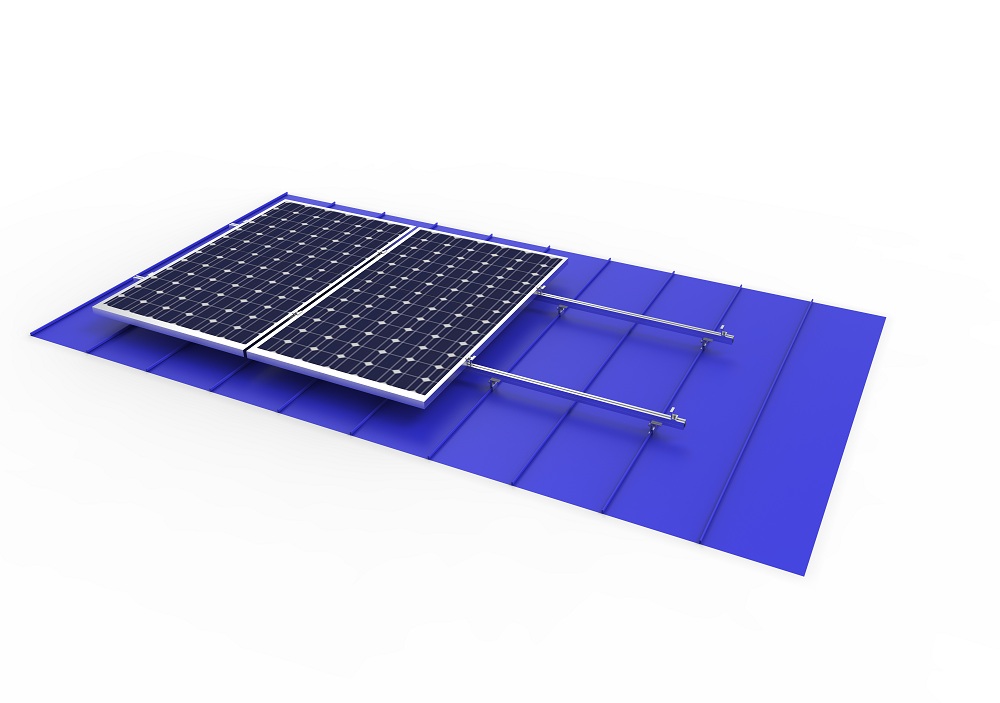
Fixture Mounting Bracket System For Steel Tile Roof
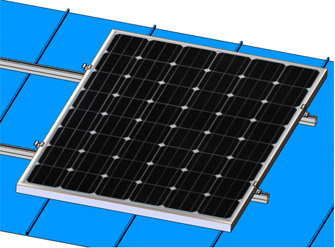
This fixture support system is suitable for large area vertical locked-edge color steel tile and angled color steel tile roofs such as factories or warehouses. The fixture is directly clamped to the color steel tile, which does not penetrate and damage the color steel tile, avoiding the problem of roof water leakage and seepage.
The clamp is connected to an aluminum alloy rail to support the solar module. The module is fixed to the rail using a middle side pressure block, which is simple in structure and durable.
- Lester
- China
- 14 weekdays
- 2MW/Week
- AL6005-T5
- AS/NZS1170 ASCE 7-05 DIN1044
- 10 Years
- 20 Years
- Information
Product Detail
Product characteristics of Steel Tile Roof Fixture Mounting System:
1. Suitable for installing crystalline silicon modules, thin film modules, double glass modules, etc
2. Connection design for convenient and fast installation.
3. The components are made of a combination of aluminum alloy and 304 stainless steel, with a long service life.
4. Provide various solutions for colo steel tile roof mount fixtures to meet customer requirements.
5. Non destructive roof self waterproofing system.
6. Strong flexibility, easy and fast installation, saving labor costs and installation time .
7. Customized lengths can eliminate the need for on-site welding and cutting, thereby ensuring high corrosion resistance, structural strength, and aesthetics of the roof solar panel brackets from the factory to the installation site.
TECHNICAL PARAMETER | |
| Max wind speed | 44m/s |
| Snow load | 0.8KN/m2 |
| Span range | 0.1-1.8m |
| Standard length of pressing block | 40mm |
| Design standard | AS/NZS1170 ASCE 7-05 DIN1044, etc |
PERFORMANCE PARAMETER | |
| Installation site | steel tile roof |
| Main material | AL6005-T5 |
| Fastener material | SUS304 |
| Applicable components | Framed or frameless |
| Applicable layout method | vertical or horizontal |
| Warranty period | 10 years |
INSTALLATION INSTRUCTIONS
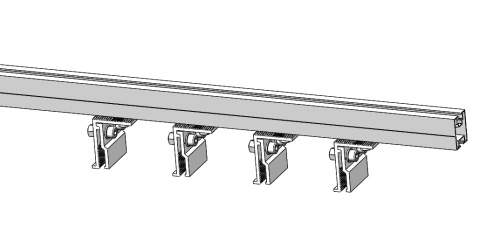
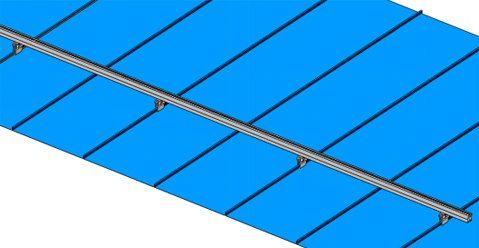
| Step 1:Side the clamps into the light rail | Step 2:Side the clamps into the light rail |
 |  |
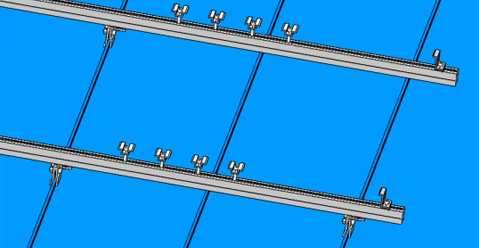
| Step 3: Slide the end and mid clamps into the rail | Step 4: Install the panels |
 |  |


