


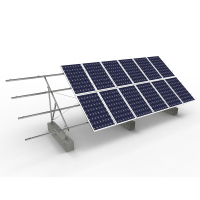
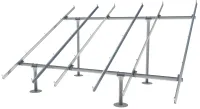
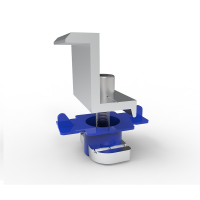
Galvanized Steel Solar Ground Mounting Bracket U-shaped
Description: Screw pile ground mounts are used for installations on uneven or sloped terrains.
Benefits: They offer a versatile and adjustable solution for various ground conditions.
Installation: The screw piles are drilled into the ground using specialized equipment, providing a stable foundation for the mounting brackets.
- Lester
- China
- 14 weekdays
- 2MW/Week
- Q235B
- AS/NZS1170 ASCE 7-05 DIN1044 GB50797-2012 GB 50017-2003 Code for Design of Steel Structures
- 10Years
- 25Years
- Information
PRODUCT DETAIL

TECHNICAL PARAMETER | |
| Max wind speed | 52m/s |
| Snow load | 1.5KN/m2 |
| Span range | 0.6-3.2m |
| System installation angle deviation | ± 2 ° |
| Design standard | AS/NZS1170 ASCE 7-05 DIN1044 GB50797-2012 GB 50017-2003 Code for Design of Steel Structures, etc |
PERFORMANCE PARAMETER | |
| Installation site | flat roof or horizontal ground |
| Main material | Q235B |
| Fastener material | SUS304 or hot-dip galvanized steel |
| Applicable components | Framed or frameless |
| Applicable layout method | vertical or horizontal |
| Warranty period | 10 years |
INSTALLATION INSTRUCTIONS
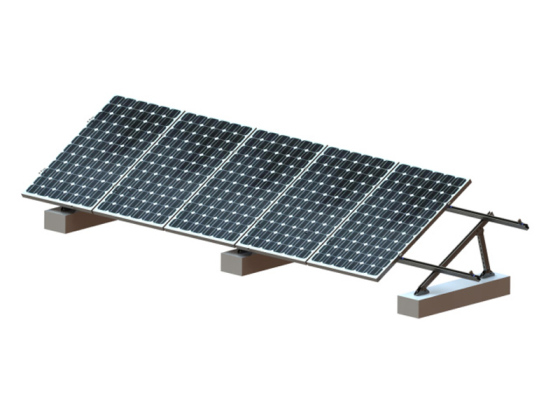
1. Installing the pre installed bracket
Unfold and fix the pre installed bracket on the cement foundation with embedded bolts. Fix the diagonal support on the rear column and lock the bolts on the bracket.

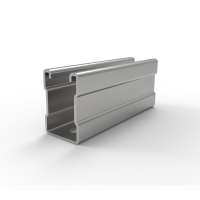
2. Install the crossbeam and rear tie rod
Place the beam opening upward on the longitudinal beam of the bracket, adjust the dimension distance, and use M10 * 25 bolts and plastic wing nuts to fix the rail on the longitudinal beam.

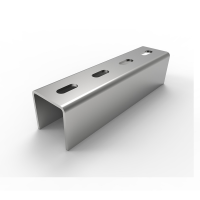
If the track length is not enough, multiple tracks can be connected in series as a whole using track connectors and four sets of M10 * 25 bolts.

After installing the track, cross install the rear tie rod onto the rear column of the bracket. Lock the nut of the rear pull rod to make it in a tensioned state.

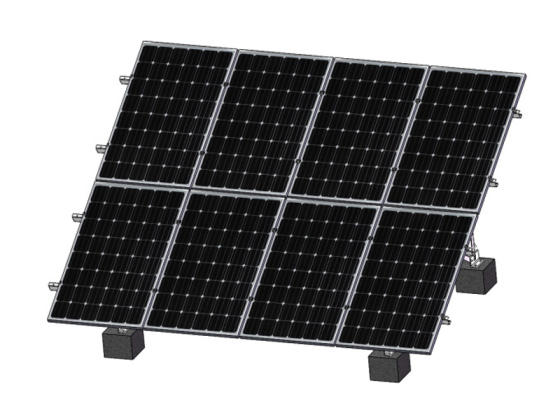
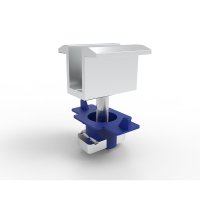
3. Install components
Lay the module flat on the track, install the solar panel at the position designed in the scheme, and fix it with side pressure block assembly and medium pressure block assembly.